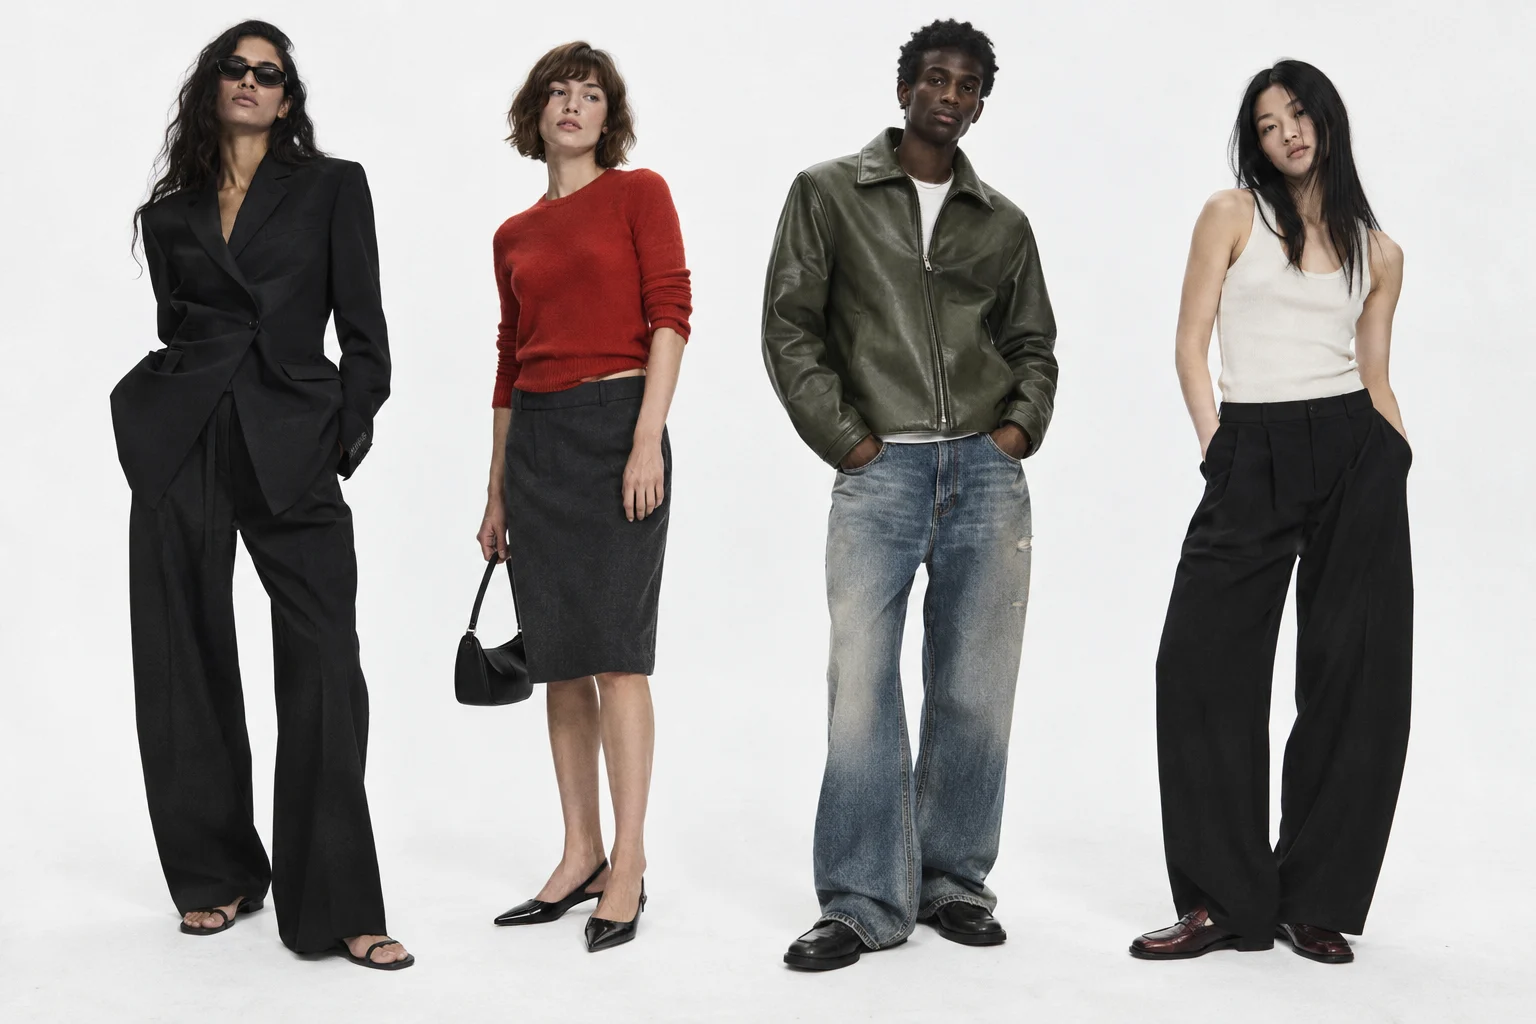
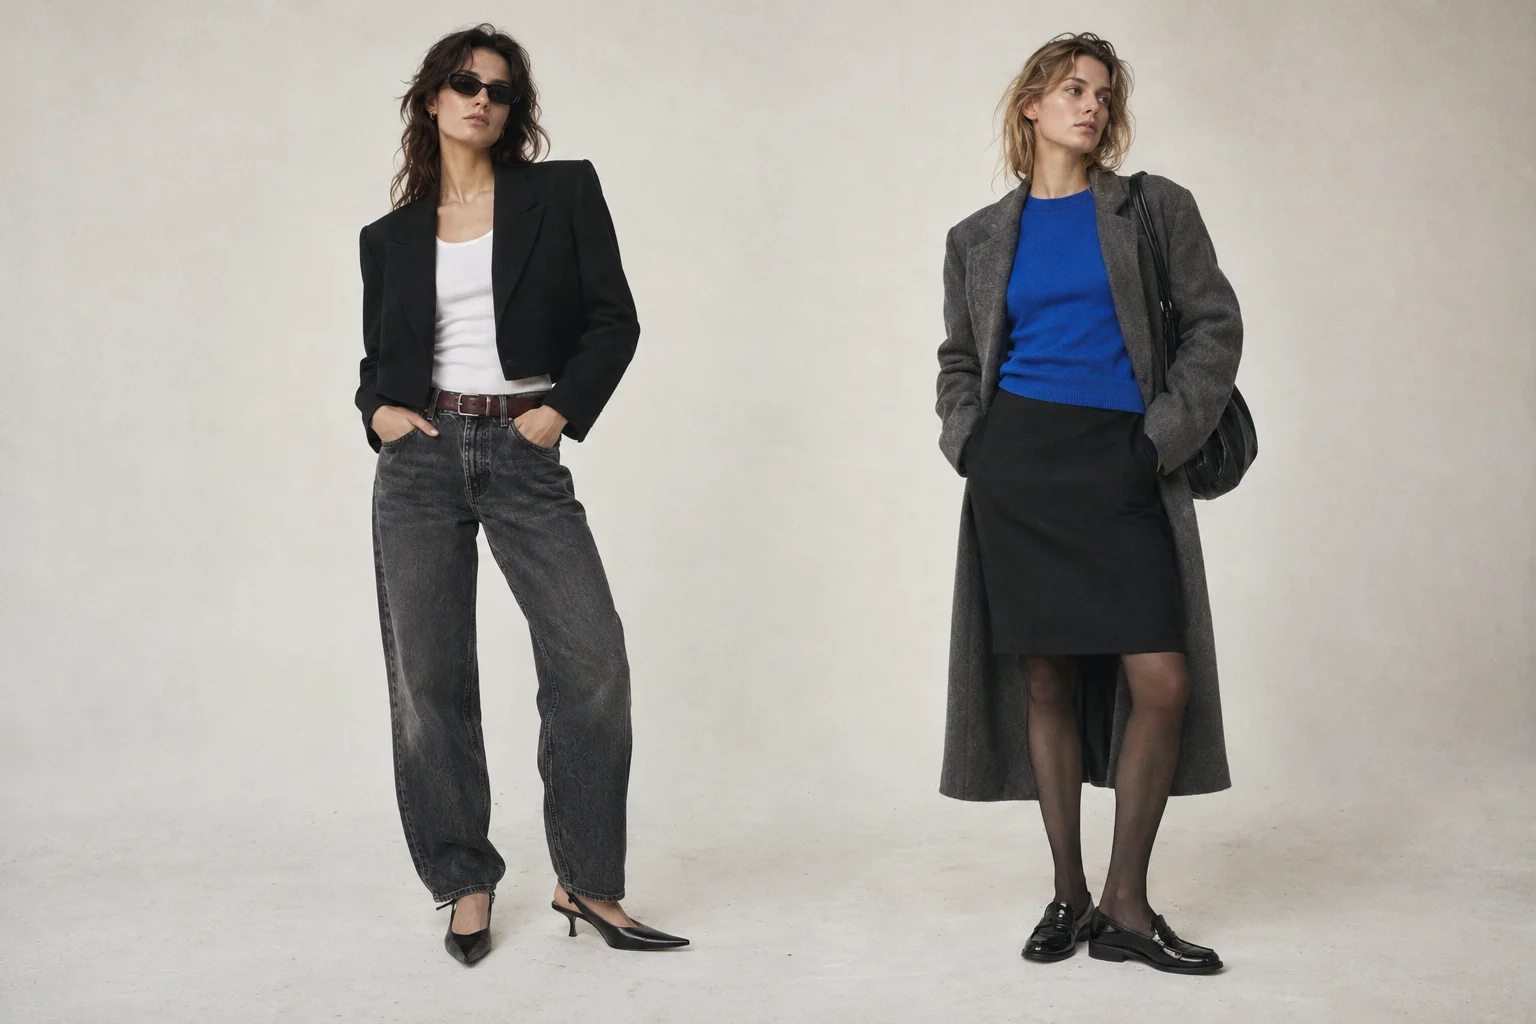
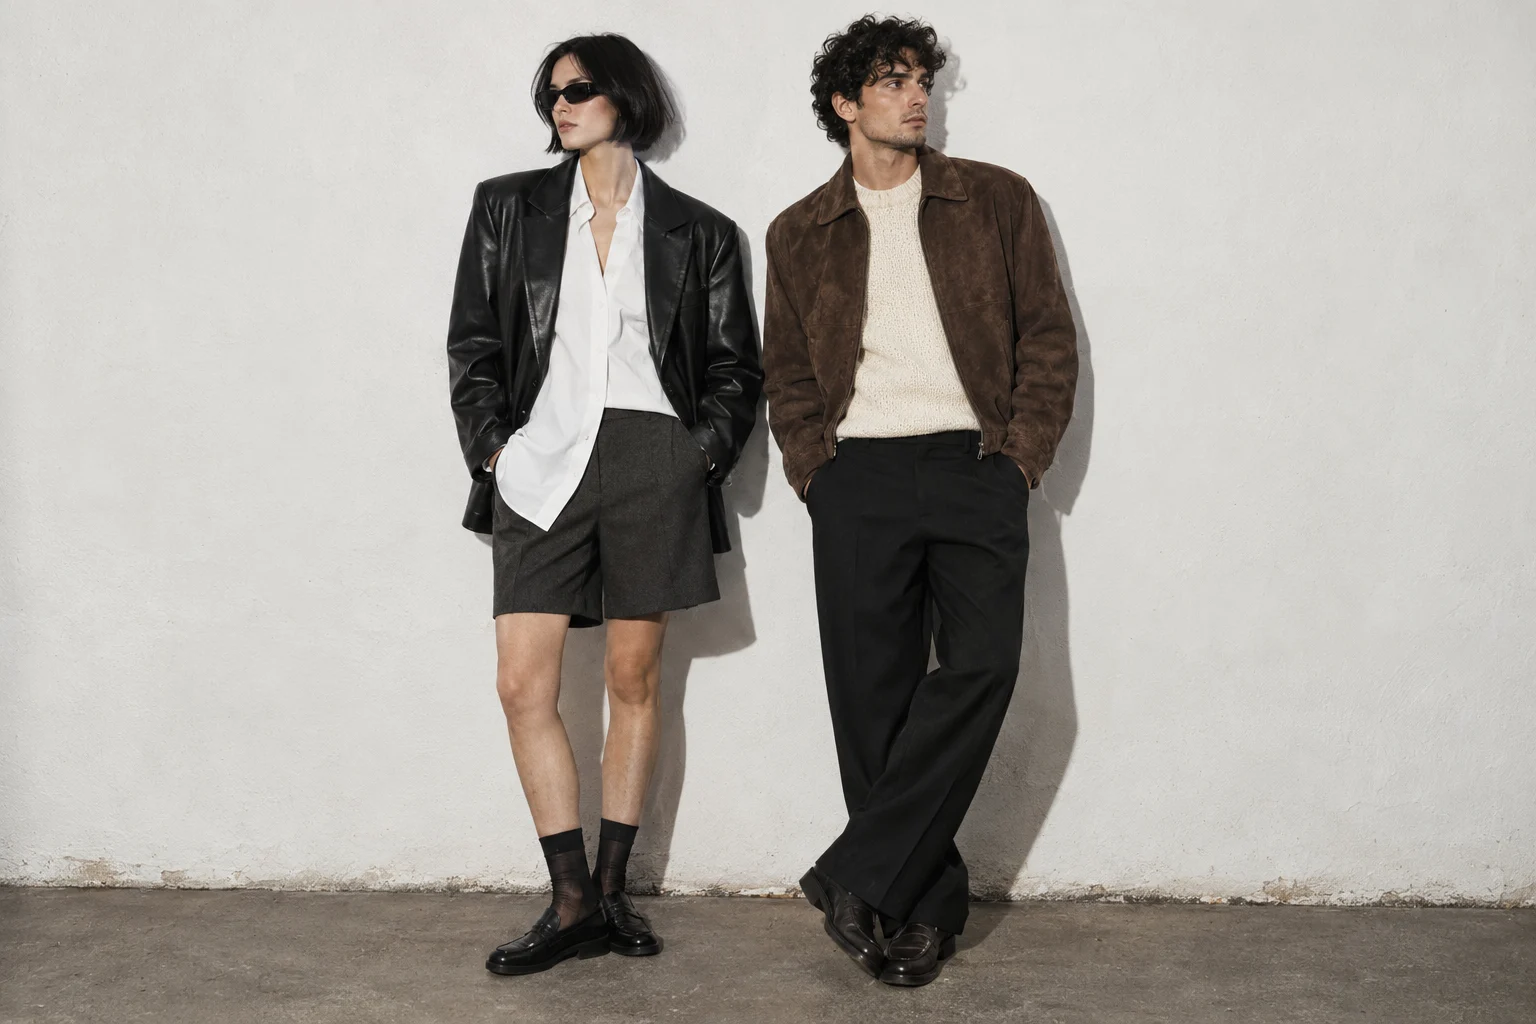
Outfit builder vs virtual try-on: what each helps you decide
Arrange clothing references with an outfit builder, then decide whether you need a personal preview. A practical example using nista's Reformation edit.
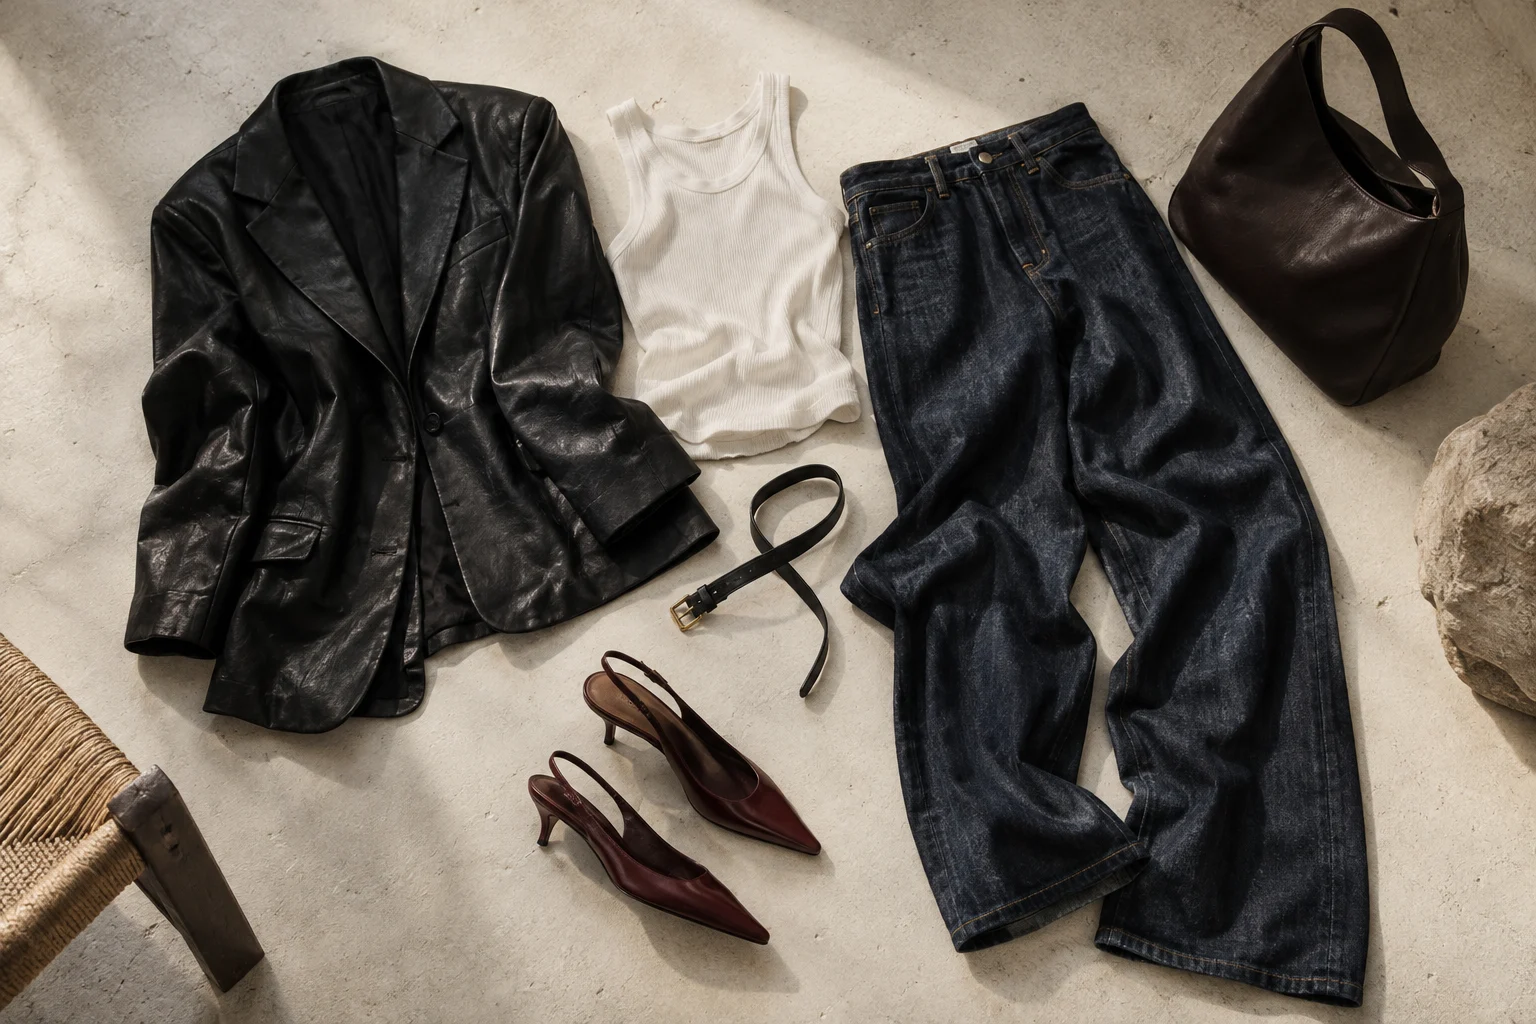
An outfit builder helps you arrange pieces. A personal virtual try-on produces an image intended to show clothing on your reference or avatar. Begin with the question you need answered: which garments to combine, or how to explore a garment's appearance on yourself.
We make nista and its independent brand outfit collections. This guide explains how to use those different experiences without treating a product-photo board as proof of personal fit.
Three kinds of image
| What you see | What it can help you inspect | What it does not establish |
|---|---|---|
| Original garment photograph | Visible color, design and construction | How it feels or fits you |
| Outfit board or labeled model preview | A selected combination and overall styling idea | The same appearance on your body |
| Personal generated try-on | An interpretation using your reference or avatar | Exact measurements, comfort or faithful detail in every result |
Keep the image type clear when you save or share an outfit. A realistic-looking model preview can be mistaken for a photograph of the actual combination being worn, while an attractive board can hide that pieces come from different photographs or contexts.
Work through a Reformation combination
Open the Reformation outfit ideas. Choose a starting piece in the collection, then compare one alternative at a time: keep the top while changing the bottom, or keep both while considering footwear.
Pay attention to the transition you are trying to make. A shorter and a longer bottom may suggest different styling directions; that does not tell you where either hem will fall on your own body. Follow the item's source link for the product details that the collection cannot supply.
These are independently assembled nista collections. The selection is not a retailer endorsement, a live-stock feed or an assurance that every combination has a reviewed generated preview. Use the labels beside the available view to understand what you are seeing.
Move to a personal preview when it answers another question
Once you have a candidate item, open its product source and follow the nista setup guide if you want to explore a supported clothing image on your avatar. The outfit builder does not automatically transfer a complete selection into a personal try-on.
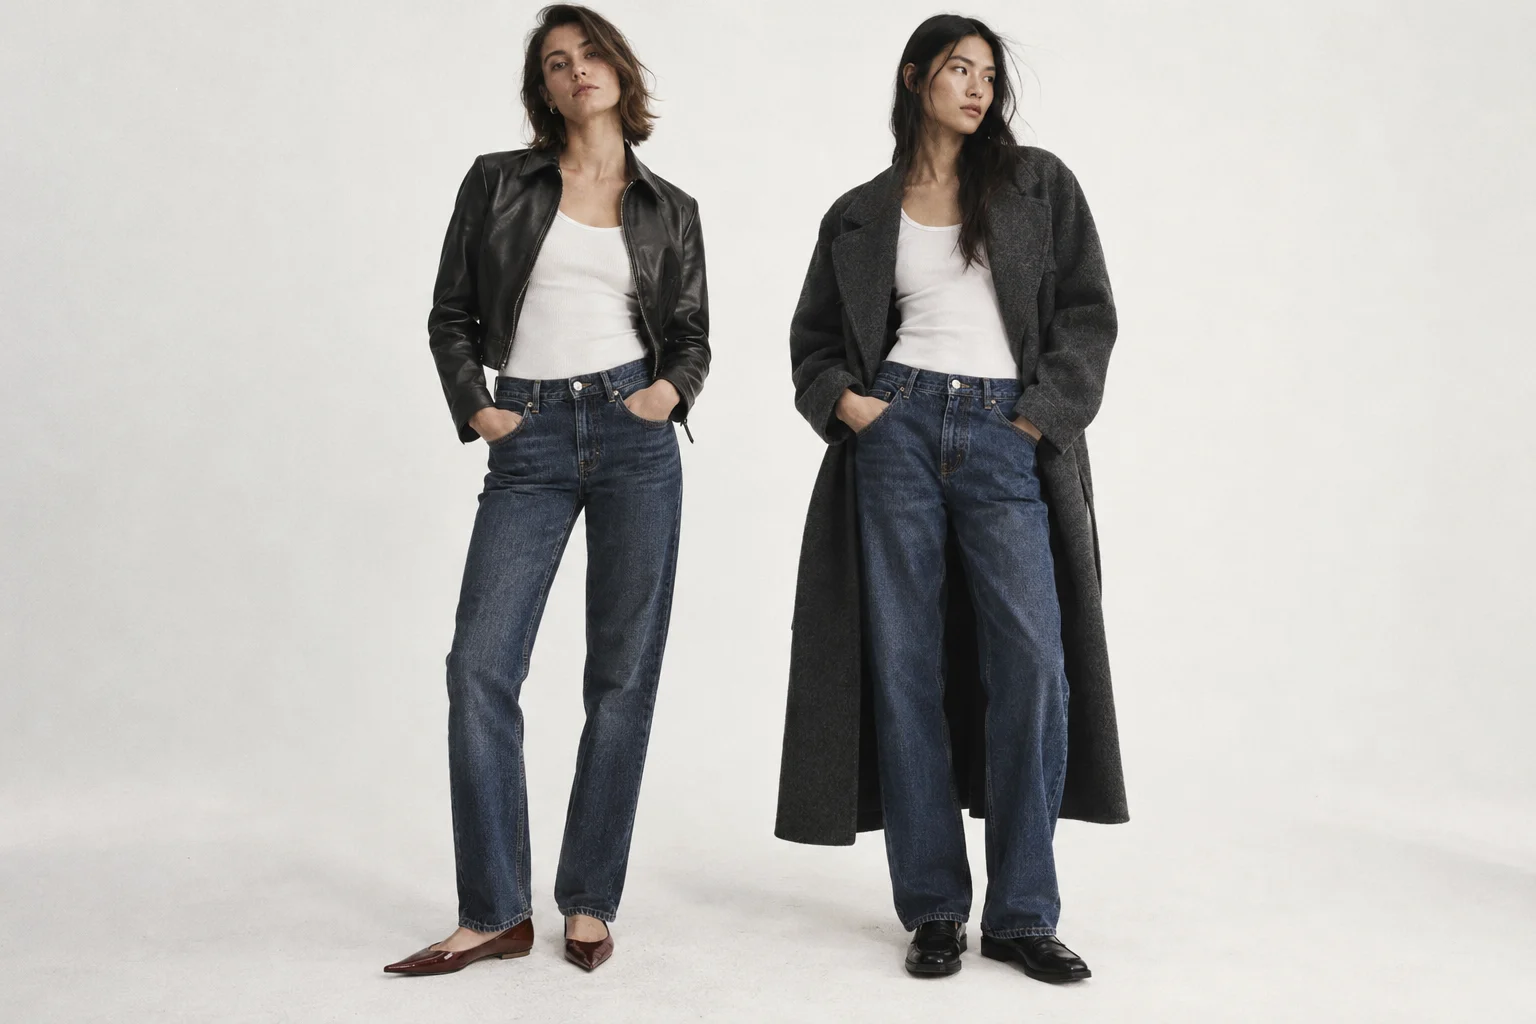
Keep the original item close while judging the result. In our shirt example, the generated trousers changed even though the selected item was a shirt. A complete-looking outfit can contain pieces or details you never asked to change.
Save the reason for your choice
When you share a board, include a sentence explaining the styling decision: perhaps you are comparing two bottom shapes or looking for a layer to wear with existing shoes. That makes the saved combination useful when you come back to it.
For a purchase, keep measurements, composition, condition and current seller terms alongside the visual. The product-comparison method gives you a small checklist. If you need a lasting record of your own clothes, the wardrobe-planning comparison covers another route.